After years of shooting landscape photos in difficult environments, I’ve learned one essential truth: the best camera is the one you’ll actually carry to the top of the mountain.
I’ve watched countless photographers start enthusiastically with bags full of gear, only to leave lenses behind by the second hike, frustrated by the weight.
My solution is deliberate minimalism—a setup that’s light enough to forget about while hiking, yet capable enough to capture everything I encounter.
The Core: Sony A6000 and Why It Still Works
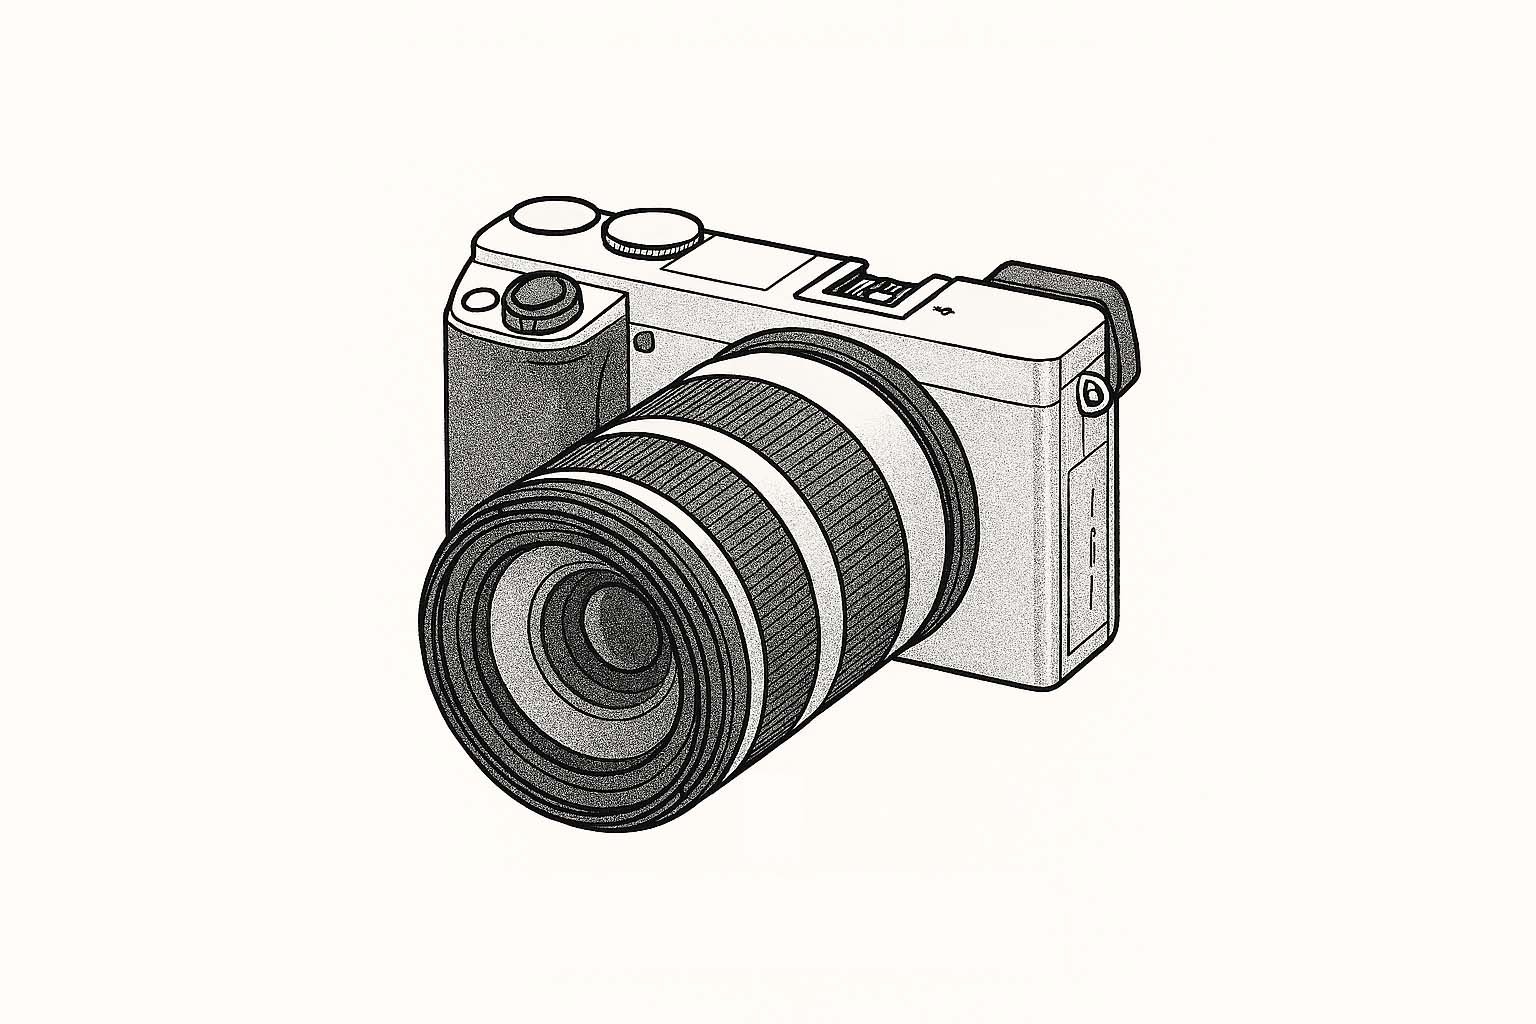
My primary hiking camera is a Sony A6000, a model that was released back in 2014—over a decade old at this point.
Yes, you read that correctly: I’m using technology from 2014 for professional work in 2026.
And before you assume I’m compromising quality or stuck in the past, let me explain why this “ancient” camera remains my first choice for mountain photography.
The A6000 delivers 24 megapixels from its APS-C sensor, which is more than sufficient for any use I have: Instagram posts, website galleries, client deliverables, and even prints up to moderately large sizes.
The image quality is genuinely excellent—crisp, detailed files with good dynamic range and respectable high-ISO performance.
More importantly, the entire camera body weighs just 344 grams without a lens.
When you’re climbing a thousand vertical meters through the Appennino Pistoiese with clients, every gram matters.
The A6000’s compact, mirrorless design means it disappears into my kit rather than dominating it.
The autofocus system, which was groundbreaking in 2014, remains fast and reliable.
For the kind of photography I do—landscapes, mushroom close-ups, candid shots of clients on trails, environmental portraits—it’s more than adequate.
I also own a Sony A7 III, a full-frame camera that’s objectively superior in almost every technical specification.
But here’s the reality: the A7 III stays home on most hikes because the weight difference is significant.
The full-frame body is heavier, the lenses are heavier, and when you’re prioritizing the hiking experience over pure photography, that weight matters more than marginal improvements in image quality.
The Lens: Sigma 18-50mm f/2.8—The Perfect Compromise
Paired with the A6000, I carry a Sigma 18-50mm f/2.8 lens almost exclusively.
This lens is the heart of my hiking photography setup, and it’s honestly one of the best pieces of gear I’ve ever purchased.
At just 290 grams, it’s remarkably light for a constant f/2.8 aperture zoom.
The focal range, equivalent to approximately 27-75mm in full-frame terms, covers everything I need: wide enough for landscapes, tight enough for portraits and details.
I can shoot the expansive view from a mountain ridge, then zoom in to capture mushrooms emerging from moss without changing lenses.
The f/2.8 aperture is critical for two reasons: it allows shooting in the lower light of forest understories, and it provides shallow depth-of-field for isolating subjects.
When photographing fungi or wildflowers, that ability to blur the background makes subjects pop against the busy forest floor.
Here’s something many people don’t realize about this lens: it has a minimum focusing distance that allows for surprisingly close work.
While it’s not a true macro lens, I can get close enough to mushrooms, lichens, and small details to capture them effectively.
For the majority of mycological subjects I photograph—Amanitas, boletes, Craterellus species—the close-focusing capability is sufficient without needing a dedicated macro lens.
This means I can photograph a sweeping mountain vista, then kneel down ten minutes later to capture a cluster of Trombette dei Morti, all with the same lens mounted.
The convenience of not changing lenses in the field, especially when conditions are dusty or damp, cannot be overstated.
The Addition: Urth Polarizing Filter
Mounted on the front of my Sigma lens, I keep a circular polarizing filter from Urth.
This is the only filter I carry regularly, and it earns its place through sheer usefulness.
Polarizers remove reflections and glare, which is particularly valuable when photographing in forests.
Wet leaves, damp mushroom caps, and moisture on rocks all create distracting reflections that a polarizer eliminates, allowing the true colors and textures to show through.
The filter also deepens blue skies and increases color saturation in foliage, making autumn landscapes more vibrant and summer greens richer.
When photographing mountain views from ridgelines, the polarizer cuts through atmospheric haze and makes distant peaks stand out more clearly.
I leave it mounted most of the time rather than adding and removing it, accepting the minor loss of light (about 1-2 stops) as a worthwhile trade-off for the convenience and protection it provides for the front lens element.
The Urth brand specifically appeals to me because of their environmental initiatives—they plant trees for each product sold—which aligns with my values as someone whose livelihood depends on healthy forests.
The Accessibility Secret: Peak Design Capture Clip
Here’s the piece of kit that transforms how I work in the field: a Peak Design Capture Clip mounted on my backpack shoulder strap.
This small aluminum clip allows me to attach the camera directly to my pack strap, keeping it instantly accessible without dangling from my neck or bouncing against my chest.
The genius of this system is that the camera is secure yet immediately available.
When a mushroom catches my eye or a particularly beautiful composition reveals itself, I can have the camera in my hands in two seconds rather than stopping to dig it out of my pack.
For someone guiding groups, this accessibility is essential—I need to be able to photograph quickly without disrupting the flow of the hike.
The clip holds the camera rock-solid even on steep, technical terrain.
I’ve scrambled up rocky sections, pushed through dense vegetation, and navigated narrow trails with the camera clipped to my strap without ever worrying about it falling or getting damaged.
When I do need both hands free—for a particularly steep climb or when helping a client—the camera stays safely attached to my pack rather than swinging around and getting in the way.
The Peak Design system is beautifully engineered: the camera plate that attaches to the tripod socket is low-profile and doesn’t interfere with normal use, and the clip mechanism is intuitive and confidence-inspiring.
The Minimalist Philosophy: When Less Is More
Occasionally, I do carry my Sony 70-200mm lens for specific situations—wildlife photography opportunities, or when I’m planning to photograph distant mountain peaks from high ridges.
But these occasions are the exception, not the rule.
The standard setup—A6000, Sigma 18-50mm, polarizer, and clip—weighs roughly 650 grams total.
That’s less than a single professional-grade zoom lens for a full-frame system.
This weight saving translates directly into hiking performance: I can move faster, climb higher, and stay out longer without fatigue.
More importantly, the light weight means I’m never tempted to leave the camera behind.
It’s always with me, always ready, which means I never miss shots because the gear felt like too much hassle that particular morning.
I’ve seen photographers with $5,000 worth of cutting-edge gear leave their cameras in the car because the prospect of carrying it up a mountain felt overwhelming.
Meanwhile, I’m capturing images throughout the entire hike because my setup is so unobtrusive I barely notice it.
Image Quality: More Than Good Enough
Let’s address the obvious question: does this modest setup produce professional-quality results?
Absolutely, and the proof is visible throughout my work.
Many of the photographs on my website and Instagram feed—images that showcase Tuscany’s mountains and mushrooms—were captured with this exact setup.
The A6000’s 24-megapixel sensor produces files with plenty of resolution for web use, social media, and prints up to quite large sizes.
The colors are accurate, the detail is sharp when paired with quality glass like the Sigma lens, and the dynamic range is sufficient for the kind of lighting I typically work in.
Modern post-processing software has also evolved to the point where even older sensors produce excellent results when files are processed thoughtfully.
Adobe Lightroom handles A6000 RAW files beautifully, extracting detail from shadows and highlights that earlier processing tools might have struggled with.
Here’s a truth that gear-obsessed photographers often miss: technical image quality reached “good enough” years ago for most applications.
Unless you’re shooting commercial billboards or making wall-sized prints, the difference between a 2014 sensor and a 2025 sensor in real-world use is smaller than the difference between competent and incompetent composition, lighting awareness, and timing.
I’d rather have a lightweight camera that I carry everywhere and know intimately than a technically superior camera that stays home.
The A6000’s controls are second nature to me now—I can adjust settings without taking my eye from the viewfinder, anticipate how it will handle different lighting situations, and trust it completely in the field.
The Real Test: Does It Serve the Work?
Ultimately, gear exists to serve the work, not the other way around.
My work requires documenting hikes, capturing the beauty of Tuscan mountains, photographing mushrooms and flora for educational purposes, and creating images that convey the experience of being in nature.
The A6000 and Sigma 18-50mm combination serves all these needs without compromise.
It’s light enough to forget about while guiding clients up steep trails, versatile enough to handle the variety of subjects I encounter, and reliable enough that I never question whether it will perform when needed.
The setup has captured thousands of images across hundreds of hikes over multiple years, in conditions ranging from summer heat to autumn rain to winter snow.
It’s been bumped against rocks, exposed to forest moisture, covered in trail dust, and used in freezing temperatures at altitude.
And it keeps working, keeps producing quality images, keeps enabling my work without drama or failure.
For New Hiking Photographers: Learn From This Approach
If you’re considering photography gear for mountain hiking, my advice is simple: prioritize weight and usability over specifications and prestige.
A camera you’ll carry beats a camera you’ll leave behind, every single time.
Consider a versatile zoom lens that covers wide to short telephoto rather than a bag full of primes that require constant lens changes in the field.
Accept that “good enough” image quality enables better photography than “perfect” image quality that’s too heavy to bring along.
Invest in a good carry system—the Peak Design clip or similar solutions—that makes your camera instantly accessible rather than buried in your pack.
And remember that the images you create matter far more than the gear you create them with.
Some of my favorite photographs from years of hiking were captured with this humble, decade-old setup—not because the gear is exceptional, but because I was there, camera ready, when the light and subject aligned.
That’s what matters: being present, being ready, and knowing your tools well enough that they become transparent extensions of your vision rather than obstacles to overcome.
My Sony A6000 and Sigma 18-50mm might be modest by current standards, but they’ve helped me capture Tuscany’s mountains, forests, and fungi in ways that serve my work, my clients, and my own connection to these landscapes.
Photography Walks: Learn in the Field
Want to improve your hiking photography skills? Join me for a guided photo walk where we’ll explore techniques for capturing landscapes, macro subjects, and nature details.

or head to the contact page
Explore Hidden Tuscany
Guided hiking experiences combining expert trail knowledge, professional photography, and wilderness mindfulness.
Latest posts
 5 March 2026
Salamandra Salamandra: Fire Salamander in Tuscany
5 March 2026
Salamandra Salamandra: Fire Salamander in Tuscany 5 March 2026
Pisa: Base for Exploring Tuscany's Hidden Nature
5 March 2026
Pisa: Base for Exploring Tuscany's Hidden Nature 5 March 2026
Montecatini Terme: Base for Exploring Tuscany's Nature
5 March 2026
Montecatini Terme: Base for Exploring Tuscany's Nature 4 March 2026
Galium Aparine: Cleavers in Tuscan Hedgerows
4 March 2026
Galium Aparine: Cleavers in Tuscan Hedgerows 3 March 2026
Umbilicus Rupestris: Wall Pennywort in Tuscany
3 March 2026
Umbilicus Rupestris: Wall Pennywort in Tuscany